just an old-fashioned girl

Hello and welcome. I'm glad you dropped by. If you´re looking for something a little nostalgic of bygone eras with a timeless elegance and a little modern twist – in other words, something slightly “retro” – then you should feel right at home here in my shabby chic room. Month by month, there will always be something new to see so I hope you´ll enjoy your stay and come back again soon.

Friday, March 30, 2012

Baby Face Restored

Thanks to those of you who offered suggestions on how to finish restoring the baby photo of my mother. You may remember how defaced the original damaged photo was but in case you´ve managed to block that horrific image from your memory, here it is again.

And here´s what I sincerely hope is the final restored version. It´s not perfect but I felt I had to stop somewhere before I ruined its vintage look by overworking it.

First of all I tried doing what Diane suggested to correct the spotty blotch over the left side of the nose, namely by copying the other side, reversing it and moving it into position. That didn´t work but it gave me an idea. I drew a selection around a part of the left side of the cheek which I judged to have the right amount of shading, feathered it, copied it and moved it over. I merged it down and I think at this point I smudged it a little to blend it in. Then, using the clone tool, I recreated the faint dark crease at the side of the nostril and also a small amount of reflected light around the nostril itself which would otherwise have looked too flat. It didn´t actually go as quickly as it sounds because in between each step I had to experiment until I found something that worked. Once I was sure I couldn´t do anything more to it without completely ruining it, I applied the median filter to smooth it just a little. Then I straightened it using the ruler tool, drew a selection around the photo, reversed it and removed the border. After that I created a new one using a pale colour sampled from part of the photo because I thought that white would be too much of a contrast and also unnatural looking around such an old photo.

Here´s a close up of the face as it was...

...and as it is now.

I´m fairly pleased with the way this photo turned out and I learned a lot while working on it though I must confess that I still feel there are areas which could be improved. At least it´s given me the courage to tackle an older and even more damaged photo of my grandmother which has been on my To Do list for about 10 years.

Wednesday, March 28, 2012

Facial Reconstruction

I can´t say in all honesty that I actually enjoy restoring photos though, if I´ve been successful, there´s a certain satisfaction afterwards in a job well done. It´s just as well that I get something out of such a tedious task because my family seems to have a long tradition of defacing, abusing, neglecting and for all I know maybe even wilfully damaging its old photos. Judging by the tea stains on some of them, both my mother and my grandmother appear to have used many of theirs as saucers and my aunt´s are so scratched they´re more a reminder of the various cats she kept than a family record.

I´ve had one particular photo in my album which I scanned long ago and occasionally open in PS with a view to restoring it then abruptly change my mind and close it again with a shudder. It´s a photo of my mother and, as far as I know, the only one in existence of her as a baby so it´s particularly dear to me. This is what it looks like after goodness knows what kind of child abuse it´s been subjected to.

Pretty bad, isn´t it? But wait until you´ve seen a close up of her face. No wonder she looks so apprehensive, poor baby. It´s as if she knew even then just how badly she´d be treated in years to come.

On a dull day recently while I was casting about for something to do, I came across it again and finally decided to bite the bullet and at least make a start on it. After a lot of frustrating trial and error using the clone/patch/healing brush tools this is as far as I got.

Large damaged areas with little detail are relatively easy to repair so many of the major flaws have gone and I can tackle the damage around the edges later on but that spotty white blotch at the side of the nose totally defeated me. I´ve had several attempts at it since then and it still defeats me. I don´t think there´s a quick fix for this but any advice would be welcome.

Sunday, March 25, 2012

Fluke

I´d just about resigned myself to starting from scratch again after the computer virus attack when I discovered that I couldn´t open my scanner in my new PSCS5 and I couldn´t uninstall and reinstall the scanner because it didn´t appear in my programme list. I´d had exactly the same problem with PSCS2 which is why I´d had to replace it with a newer version. That wasn´t as easy as it sounds because I can´t get PS in English over here and I had to enlist Diane´s help. I thought Here we go again...and bought a new scanner only to discover that, unlike its predecessor, to open in PS it required the Windows Image Acquisition driver which the virus had apparently destroyed. Diane couldn´t help because she only works with Macs so I wrote to my 2nd cousin, Michael, who said that the virus I described sounded a lot like one he´d dealt with himself. Then he went on to casually say something which sent me off on another train of thought, namely... but what we did notice was that it seemed to hide all folders as opposed to delete them and we had to manually go to each folder and “unhide” them. Ever since I got my computer back minus all its folders I´d had the creepy feeling it was haunted. All my programmes tried unsuccessfully to use paths which didn´t exist to store my data and I had to save everything on a USB stick and manually drag it into one of my new folders. Whenever I tried to create a substitute folder to replace one I´d lost I got the error message that it already existed and that I couldn´t create another with the same name. Given the fact that I got a similar message whenever I tried to reinstall a lost programme, after what Michael said about hidden folders the penny finally dropped. By the way, this long rambling story does have a punch line so please bear with me in case this ever happens to you. I wrote back asking him how he´d “unhidden” them, thinking if it means my messing about in the registry, forget it. It didn´t. I simply had to tick a menu sub-option Show hidden files and folders. When I looked at my desktop after doing that it was overflowing with all the folder/programme links I´d lost all jumbled up with the new ones. I clicked on my old Design link hardly daring to hope that I´d get anything more than an empty folder, if that, and was totally astonished to discover it was almost exactly the same as it had been before the virus struck. By “almost” I mean that all the images were there but greyed out. However, by going into Properties and unticking the Hidden box they were magically restored. I did that with every folder and now have everything back which I´d thought gone forever. When I think of the 100s of hours I spent desperately searching for my lost images, documents and programmes not realising that they were there all the time and only invisible to me! And it was a complete fluke that led me to restoring them with a click of the mouse. Not only have I all my folders back but I can also access my old PSCS2 which is no longer hidden and that is an incredible stroke of luck because it has no problem opening my scanner while the newer version still stubbornly refuses to do so.

I mentioned in an earlier post that I´d lost the kit I was working on when the virus struck and that I intended to recreate it. In the post immediately preceding this one I also showed a substitute page using the photo which had inspired it. I hadn´t quite finished working on the original layout before I “lost” it. This is as far as I´d got.


As you can see, the swinging girl, the leaf swirl, the lace edging and the bird are identical (I had them on a USB stick) but everything else is different. I was particularly pleased to get my original frame back but am now presented with a dilemma. No kit really needs 2 oval frames. Should I include this one in the kit or the gold one I replaced it with?

Now that my computer disaster is a thing of the past I still have a little work to do moving new images/documents into old folders and deleting the replacement folders but, as you can imagine, I can take that in my stride. What I find very strange about this saga is, firstly, how the software I used recently to restore data was able to retrieve so many “deleted” files which were in fact only hidden and, secondly, why my computer was returned to me with a shrug of the shoulders and a casual It looks as if a lot of folders are missing. If in future – heaven forbid - I have any further computer problems I´ll turn to the Yellow Pages. I know who won´t be entrusted to solve them!

All that´s left to say now is thank you again, Michael.

Tuesday, March 20, 2012

A Victorian Tea Party

I love this photo. It´s well over 100 years old and it makes me feel nostalgic for a simpler era in which children´s toys weren´t powered by batteries but by imagination and little boys could take part in their sisters´pretend tea parties without feeling foolish. It doesn´t belong to me but to Linda who´s a cousin of my own – and her – cousin, Neville, and these 3 Victorian children aren´t related to me but to Neville´s father´s side of the family. They were first cousins to Linda´s mother and are from left to right Marjorie Ethel Lawson, known as Madge, Frederick Charles Lawson, known as Charlie, and Anne Mabel Edwards Lawson, known as Mabel. Linda says that she loved them dearly and remembers them with great affection. She is still in touch with Charlie´s children and grandchildren.

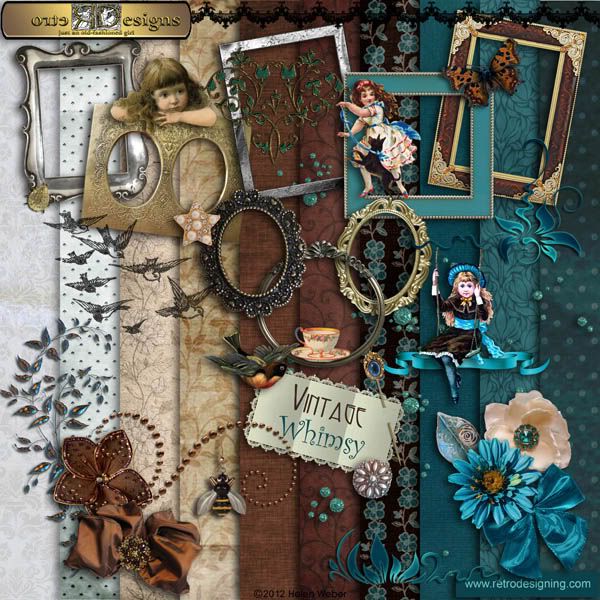
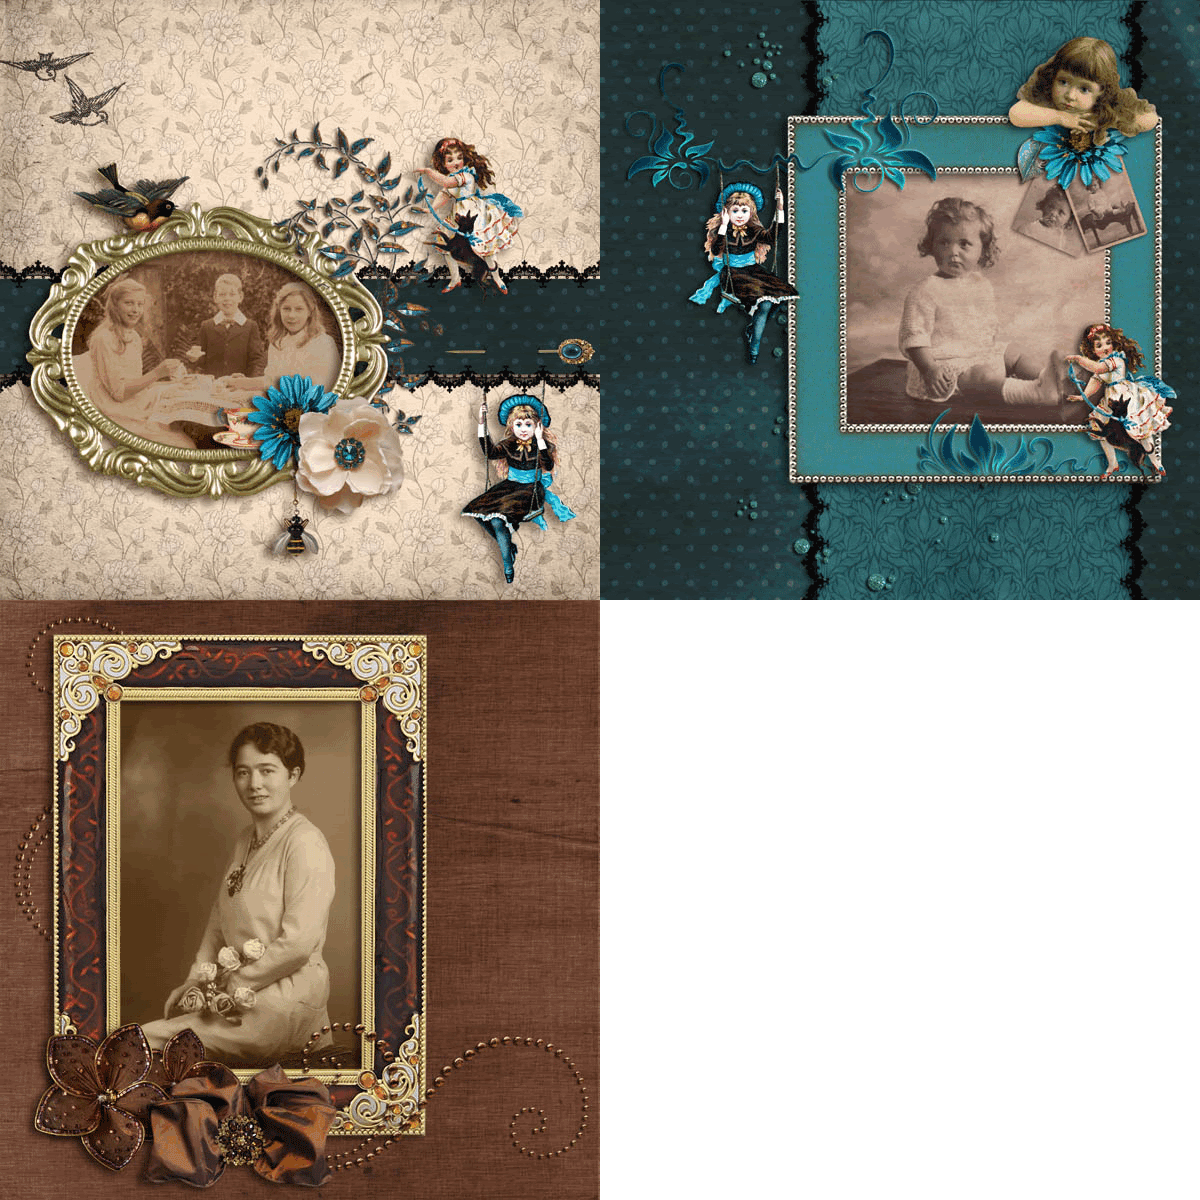
I decided that Madge, Charlie and Mabel deserved a layout created from a kit designed especially for them and this is what I´ve done so far. To highlight the whimsical Alice In Wonderland feeling of that long ago tea party I´ve included several Victorian scraps and kept the colour scheme fairly simple using touches of orange to complement the warm sepia of the photo, and teal and turquoise as a cooler contrast.

I hope Linda will like it. Neville too although, judging by what my mother has told me about him as a child, he wasn´t at all like Charlie and if he´d ever had any sisters he´d have been likely to have played The Mad Hatter and tried to stick someone´s head into the teapot! Probably the photographer´s...

Sunday, March 11, 2012

Recovering

For the past week I´ve been recovering in more ways than one. For a start, by sheer coincidence, while I was updating my registry cleaner I discovered a free software download which recovers lost data. A cause for rejoicing? Well, yes and no. Yes, it did recover some of my lost work but a deep scan took 7 hours, and no wonder, because it found literally 100s of 1000s of images! On the face of it that sounds positive but only a small percentage show thumbnails which doesn´t necessarily mean that these files are still recoverable. All it means is that those without thumbnails are almost definitely, but not always, duds..... Also, of those showing thumbnails, there were literally dozens of duplicates scattered all over the place and not necessarily within the same clusters and sometimes wrongly named so every single image had to be viewed and, if of any value, ticked. Here´s a typical screen shot. See how far the slider´s got to? That was after about an hour.


After I´d viewed several thousand, I´d forgotten which I´d already chosen for recovery as a result of which, after the first scan alone, I had many MANY duplicates as the programme doesn´t ask Are you quite sure you really want a dozen of that? After about 8 hours of ticking boxes my back hurt, my head hurt and I felt as if I was well past my live by date...so I downloaded what I´d recovered onto a USB stick and then stopped for the day. That´s when I realised I had a major problem. After all that tedious work the slider had only moved down a tiny fraction and I still had 100s of 1000s of files to examine. I could just have left the computer running all night and resumed my hunt the following morning but for the fact that I´d have had to uncheck every single box or I´d have got all those 1000s of images added on again the next time. Unthinkable. I reluctantly had to close the programme, start it up again and leave it on to scan again all night. I thought if I marked the spot at the side of my screen to show how far the slider had reached I could at least spare myself the task of ploughing through all the images I already had. Ha! I could have saved myself the trouble as I found next day that the images were in an entirely different order after the 2nd scan. And so it went on...every day for a week until I got so thoroughly sick of it I reluctantly had to stop before I lapsed into a coma, and accept the fact that there were probably – almost certainly – many images I´d be abandoning and sending to oblivion. As I said before, I´m recovering in more ways than one. And I´m still not finished. I´ve only scanned once for documents of which there are even more duplicates. The horror of that is that all the duplicates have to be recovered because some are viable and others aren´t. Why this should be totally defeats me but then I find it equally absurd that the programme includes unrecoverable files at all. But after that comes the fun part – I don´t think - which is sorting everything out into folders and transferring them to my computer.

It´s a great pity that I never found a trace of the kit I was working on when my computer went belly up. Also, I never found the freebie I´d intended as an add on to Garden Treasures so I´ve created another one. Here it is:


If you´d like it, you´ll find it HERE.

I´m off now to recover. Well, sort of. After that major marathon even housework and ironing have their charms...

Saturday, March 3, 2012

New Kits In The Store

Lajuana´s been busy recently adding more kits to the store for me, one completely new and two from my collection. If you have a look in the store I think you´ll agree that, as always, she´s done a wonderful job. This month the new featured kit is Summer Past which I designed last year and previewed here on the blog in February.

Flight Of Fancy is a kit I particularly enjoyed designing because I love bling and this kit is full of bright sparkling elements to welcome in the spring.

And on the subject of spring bling, Garden Treasures is an elements pack which I couldn´t resist adding on as it goes so well with Flight Of Fancy. In fact any of the glittering creatures in it would add an eye catching accent to any floral or garden page. By the way, it includes the only snail I´d welcome into my garden!

You can see the kits in the store HERE. As usual I´m offering some kit freebies. If you´d like them, you´ll find them HERE along with more info about the kits.