just an old-fashioned girl

Hello and welcome. I'm glad you dropped by. If you´re looking for something a little nostalgic of bygone eras with a timeless elegance and a little modern twist – in other words, something slightly “retro” – then you should feel right at home here in my shabby chic room. Month by month, there will always be something new to see so I hope you´ll enjoy your stay and come back again soon.

Thursday, October 31, 2013

A Grave Subject

I took this photo in a Scottish cemetery several years ago. It´s one of my favourites.
I particularly like this version as the eye isn´t distracted by the background.
By daylight the angel isn´t at all spooky, just a little pensive, but blended into a Gothic background I think she´s eerie enough for Halloween.
I´m flying to Scotland in a few day´s time so I´d better get my broomstick out and dust off the cobwebs.
Have a creepy Halloween!
See you again soon.

Monday, October 28, 2013

Fall is in the Air!

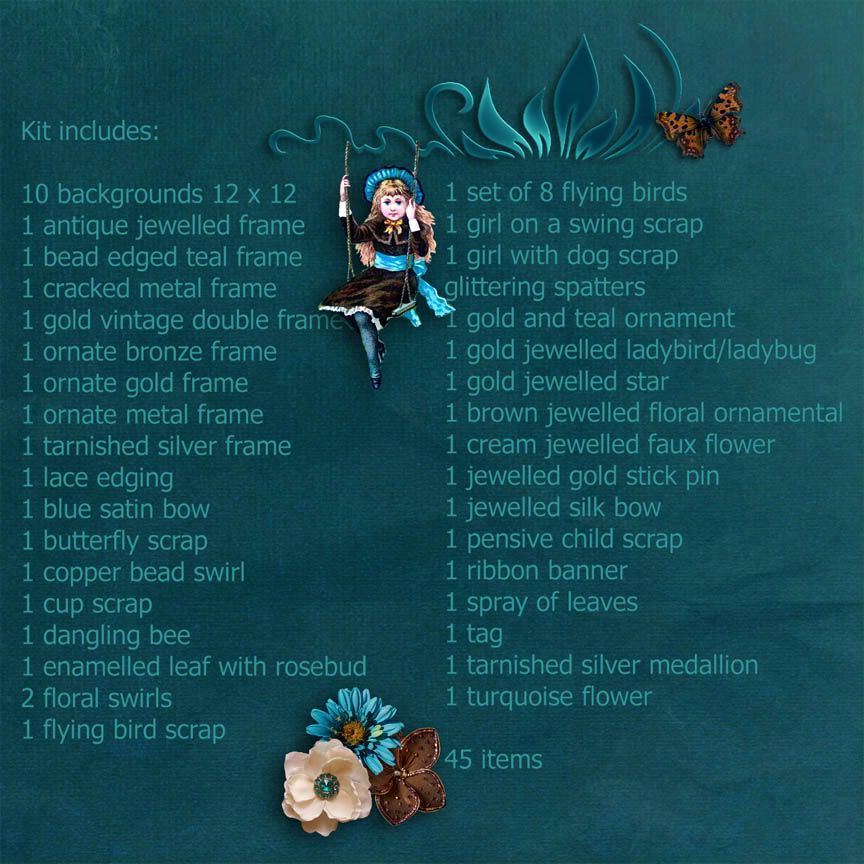
I came across this page yesterday while looking for fall photos and LOs.  One of my all-time favorite pages ever.  It was made using your kit, Vintage Patina.  Just had to share it as a reminder of how perfect this kit is for everyone's upcoming fall photos.

Vintage Patina can be found in Retro Designs store HERE

Saturday, October 26, 2013

Defaced

It´s been ages since I tried my hand at photo restoration. In fact the last time was about 18 months ago when I tackled a very badly damaged photo of my mother as a baby. That was one of the most frustrating tasks ever and took me a long time and a lot of trial and error. It´s one thing to remove creases from clothes but quite another to remove them from faces, especially from faces which won´t have their own natural creases for about half a century!

If you´ve never restored a photo there are three pieces of advice I can offer you before you tackle a very badly damaged one. First of all, don´t be too ambitious. Try something easy like a landscape or if it simply must be a person then choose a photo in which the face has been spared the ravages of time. Faces are quite incredibly difficult to restore. Secondly, keep practising until you´ve learned what the various tools can do and you feel comfortable using them. Thirdly, when you feel confident enough to try your hand at a precious old family photo choose one you particularly love. This will give you the impetus and the determination to succeed.

Having said that, the following photo of my grandmother and my aunt is a good example of what not to choose if you´re a complete beginner.
For a start it´s almost monochrome when it really ought to be sepia but that´s fairly easy to alter. Ditto the splotches in the background. It´s the white crease across the eye which makes it so difficult. At least the eyes in the photo of my mother had been spared even if the rest of the face was like a plastic surgeon´s nightmare.

First of all I did the easy bits. I completely removed the border and increased the contrast.
After that I removed most of the blotches from the background, also from the baby´s christening robe and started on the face and hair using a combination of the patch and clone tools. I also used these tools to repair the white strips which were caused by the removal of the uneven border.
Then I lightened the shadows around the hands and the collar of the blouse.
I still wasn´t happy about the work I´d done on the eye so I slightly darkened the inside corner. Then I touched up a few more tiny faults, after which I had to stop before I went too far and destroyed the natural look of the photo. I think knowing when to stop is really important. I tend to get obsessed over little flaws so I have to restrain myself from doing too much. At this point I went off and brewed some strong coffee so that I could look at my final result later with fresh eyes.
Well, not quite my final result. I still had to change it to sepia. For absolute beginners I intend to write a little tutorial sometime on how to do this. It really isn´t difficult though. Basically, if you´ve saved your photo as a jpg. you´ll have to change your background to a layer so that you can add a colour overlay. 
I felt at this point that it was as good as I could get it but, as I´ve said before, I can never leave well alone and I thought it needed just a little more contrast. When I use it in a layout I can decide which version I prefer.
And all it needed now was a border. (I´ve already written an easy tutorial on how to do that but then, all my tutorials are easy. I don´t pretend to be an expert.) I thought that a stark white border wouldn´t be appropriate so I sampled a beige tone from the photo itself for the border.
One down, at least one more to go but I´m saving the worst for last!

Sunday, October 20, 2013

Compromises

Usually by this time I´ve already been to Scotland but this year instead of putting it off indefinitely I decided to compromise and go in November instead. I hoped that by that time I´d finally have had the source of my headaches diagnosed and successfully treated. At least the first of these assumptions has proved true. To cut a very long and boring story short my problem is caused by a dislocated atlas bone. That´s the aptly named bone which holds the skull in place. The treatment is complicated so I won´t go into that right now, but considering the fact that I couldn´t get a consultation with – yet another! - specialist until the end of November, I may still have to stock up with painkillers before my trip. At least, after a year of agony, now that I finally have a diagnosis I feel a lot more optimistic than I did before. With any luck I may even feel up to designing again once I feel better.

And, talking of compromises....by sheer coincidence, after a week of rain, I was again checking up on my strange “whiterose bush when I was astounded to see THIS!
 
It looks very much as if one of the little gardeners has decided to compromise by painting the Red Queen´s roses pink! But there´s apparently no pleasing Her Ferocious Majesty. At least the usual culprit is off the hook...

It´s such a pretty colour too as you can see from the close up.
 
Poor Dora is already starting to get cabin fever. As I mentioned earlier it´s been raining a lot here recently which means she can´t stay in her beloved garden after I bring her back soaking wet from her daily walks. She´s smart enough to realise that if it´s raining at the front of the house it´s raining at the back too so she just settles down with a sigh and a hard-done-by glance at me. She knows quite well that I can do absolutely ANYTHING including causing a downpour. Such faith....and so misguided, not to say unfair! At least she´s willing to make a compromise. She knows I won´t let her out on her own if it´s chilly and if the grass is still wet as she´ll only roll about in it and probably catch her death of cold. So she´s perfectly happy to take me with her to play for half an hour or so until one or other of us – always me – gets fed up and wants to go indoors again. If I´m really lucky I´ll even get to play with the ball as well especially as she usually decides on two of them but I´m afraid my role is usually as a spectator while she does this... 
 
I call this trick How To Demolish Two Balls With One Nose. Clever, isn´t it? No prizes for guessing what Dora´s getting for Christmas!