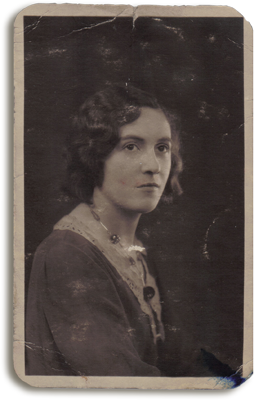
This 1930s studio portrait of my aunt, as you can see from the original below, was in very bad condition when I got it and it took quite some time to restore.
This is what I´ve done so far. It still requires a little tweaking but it´s a lot better than it was. The easiest part was replacing the damaged border. I´ve made it white but may change it to a light sepia to reflect the age of the photo. If you´d like to try this easy technique, you´ll find a tutorial
HERE 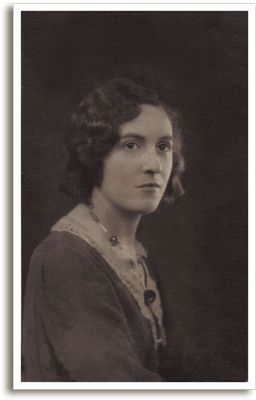
I think it looked even better after I´d faded out the edges and framed it to create my own cameo.
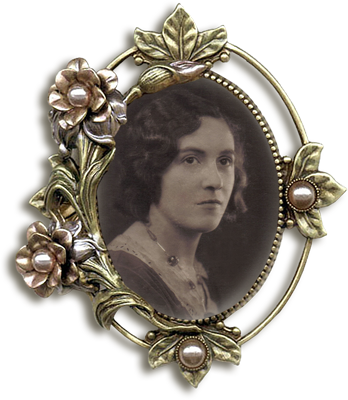
You´ll find the original cameo, which I´ve used in the blog header and which you can also see on the right, in
Shabby Chic Rooms Part 2 where, if you´d like to create your own personal cameo, you´ll also find a link to the frame and even to a room to hang it in!
 This is what I´ve done so far. It still requires a little tweaking but it´s a lot better than it was. The easiest part was replacing the damaged border. I´ve made it white but may change it to a light sepia to reflect the age of the photo. If you´d like to try this easy technique, you´ll find a tutorial HERE
  I think it looked even better after I´d faded out the edges and framed it to create my own cameo.
 You´ll find the original cameo, which I´ve used in the blog header and which you can also see on the right, in Shabby Chic Rooms Part 2 where, if you´d like to create your own personal cameo, you´ll also find a link to the frame and even to a room to hang it in!


Helen, you did a beautiful job on the photo restoration of your Aunt's portrait! and I love it in the cameo! I know it was time consuming, but a labor of love! Wow... great job!
ReplyDeleteHow lovely and what an awesome job you did on your restoration. I'll have to check out the tutorial. I have done some restorations, but just did my own thing. Surely I'll find some tips that will make it easier. Love the cameo of your restored photo!
ReplyDeleteYour lovely aunt is once again a charming subject. Nicely done restoration, but the cameo version is so pretty everyone would want one.
ReplyDeleteWhat a terrific restoration job!! I never would have thought of making an old photo into a cameo. It's just beautiful.
ReplyDelete