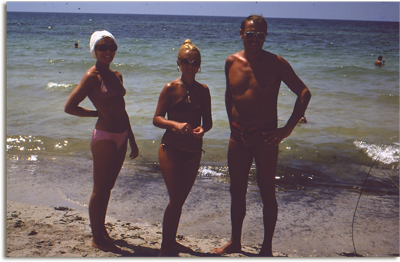
First I used the Spot Healing Brush to remove all the blotches and freckles. Luckily they were mostly in the background as I´d rather leave the reconstruction of faces to a cosmetic surgeon. There were too many distracting odd bodies floating around in the sea so I ruthlessly eliminated them using the Clone Stamp Tool which I also used on that huge scratch on the right. Later I regretted having spent so much time on that. You´ll see why on the finished photo. Then I altered the brightness/contrast and after that the only editing left was to straighten up the horizon to prevent the sea from spilling off onto the page. That was really easy - you´ll find a simple tutorial HERE - and my only regret was that it also entailed amputating even more of our feet than in the original slide. Still, no pain, no gain. After that the proportions of the photo didn´t look quite right so I trimmed off a fair bit at each side until it was almost square. Here´s the result...
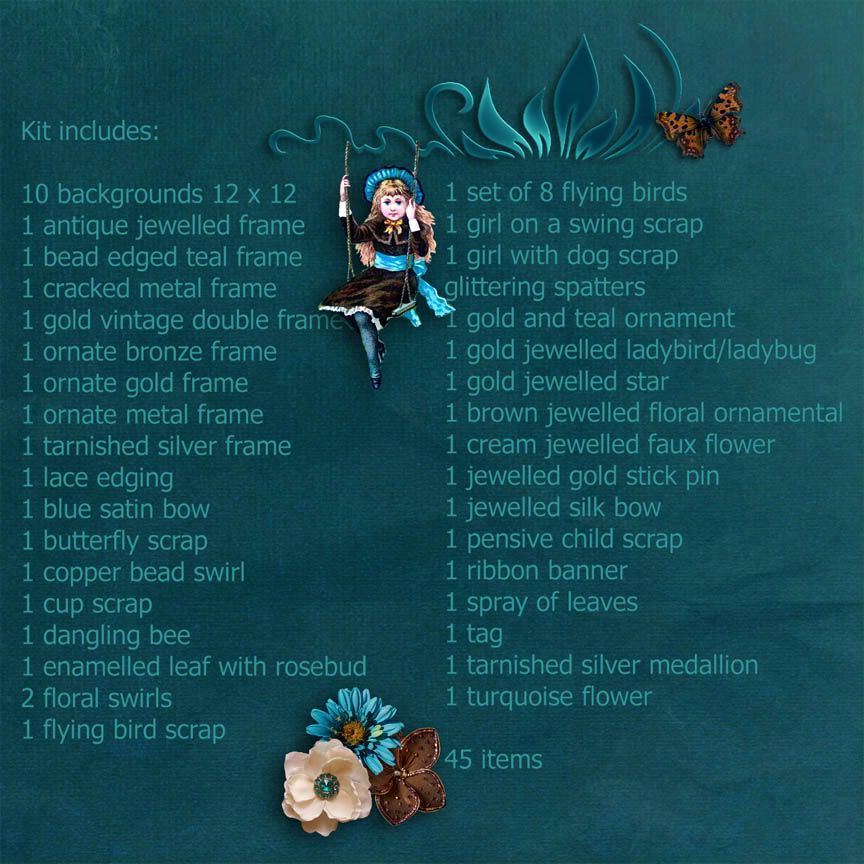
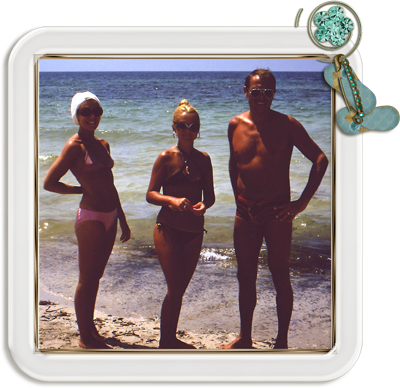 I used a couple of frames from Flight Of Fancy and held them together with a jewelled clip from the kit. Then I made a pair of flip flops from 2 background papers and attached them with the gold safety pin. You can see a preview of the kit HERE and, if you like, you can also pick up a little gift or two.




Wow, if I had a picture of me looking that good in a swim suit, then I would do whatever it takes to get it from that slide onto the computer! Great job and I can't wait to see more of your scanned slides. Off to play with "Flight of Fancy"!
ReplyDeleteBut which of these bronzed beauties is you? The task of getting all those slides converted sure is daunting. We are currently trying to put together a tray of slides from Mexico to share with a few people on Saturday. Sure wish they were converted!
ReplyDeleteJean, once I´ve got my "tea with the Bedouins" photo cleaned up I´ll post it and then you can guess which is me!
ReplyDeleteMy husband has a bunch of slides from when he was a kid ... in a box somewhere down in our basement that I will have to get out and try to covert some day... something else to add to my never ending list of things to do. ;) You did a great job with the scratches and dust. I think I know which little lady is you... but I will wait to see if I am correct. :)
ReplyDelete