just an old-fashioned girl

Hello and welcome. I'm glad you dropped by. If you´re looking for something a little nostalgic of bygone eras with a timeless elegance and a little modern twist – in other words, something slightly “retro” – then you should feel right at home here in my shabby chic room. Month by month, there will always be something new to see so I hope you´ll enjoy your stay and come back again soon.

Showing posts with label QP. Show all posts

Monday, May 23, 2011

First Lupin

Last summer I sowed some lupin seeds in a pot. When they were big enough I transplanted them to a plot in the garden right next to the Red Queen´s rose bush. Over winter they disappeared only to reappear in early spring. I was thrilled and cherished them like new-born kittens. A few weeks ago I was rewarded by the very first flower spike. Since then they´ve produced many more in various colours ranging from salmon pink to pure white but none more beautiful than the very first one.

I´ve used the QP from Time Began In A Garden to frame my lovely lupin.

PS Diane has offered to send me some more bluebonnet seeds as I had no luck with the first ones she sent. I´d love to have these wild lupins in my garden too so wish me luck!

Sunday, April 3, 2011

OFF WITH THEIR HEADS!

Of all the rose bushes in my garden the white tea rose bush is my favourite. Not because it´s prettier. It isn´t. And not because it smells more fragrant. It doesn´t. What it does have which sets it apart from all the others is its remarkable ability to change the colour of its flowers. Sometimes it produces a white rose with just one scarlet petal. Sometimes it daubs red over several roses and occasionally it goes all out to astonish me by producing a whole cluster of red roses. It´s so quirky it reminds me irresistibly of the scene in the Red Queen´s garden in Alice In Wonderland where her gardeners are hastily painting all the white roses red and are caught literally red-handed by that ferocious monarch bellowing, "OFF WITH THEIR HEADS!" See for yourself...(I promise I´ve recoloured nothing apart from taking liberties with Tenniel´s wonderful black and white illustrations.)

Click on the image for a larger view of my quirky roses.

I´ve used one of the freebies from Heart Of Gold for this page. The quick page with its bouquet of roses and jewelled heart-shaped frames seemed ideally suited to display not only my whimsical rose bush but also the equally whimsical drawings from my vintage copy of Alice In Wonderland.

If you´d like the QP, you´ll find it HERE.

Tuesday, January 25, 2011

From Slides To Photos

For years all the slides my husband made during a wonderful holiday in Tunisia lay forgotten in the attic until the slide scanner I got for Christmas encouraged me to bring them down, dust them off and convert them to photos. Said like that it sounds easy, doesn´t it? Believe me, it wasn´t! What looked like tiny blemishes and scratches, once converted to a 70 inch photo, were simply enormous and the very prospect of editing out all those monstrous flaws was so daunting I almost gave up before I´d started. In fact it was actually a little easier than I´d imagined as the very size of the photos was in my favour because I soon discovered that the larger the blemish the easier it is to remove. I chose one of the worst to practise on as it was such a good example of what a photo shouldn´t be that it gave me the chance to try out a variety of Photoshop´s editing tools. Here it is warts and all, though in this small format only the largest blemishes are visible.
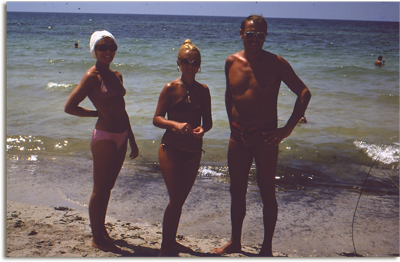

First I used the Spot Healing Brush to remove all the blotches and freckles. Luckily they were mostly in the background as I´d rather leave the reconstruction of faces to a cosmetic surgeon. There were too many distracting odd bodies floating around in the sea so I ruthlessly eliminated them using the Clone Stamp Tool which I also used on that huge scratch on the right. Later I regretted having spent so much time on that. You´ll see why on the finished photo. Then I altered the brightness/contrast and after that the only editing left was to straighten up the horizon to prevent the sea from spilling off onto the page. That was really easy - you´ll find a simple tutorial HERE - and my only regret was that it also entailed amputating even more of our feet than in the original slide. Still, no pain, no gain. After that the proportions of the photo didn´t look quite right so I trimmed off a fair bit at each side until it was almost square. Here´s the result...
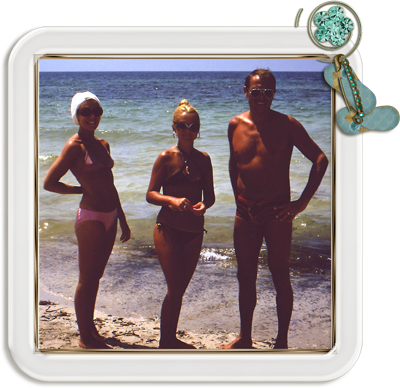
I used a couple of frames from Flight Of Fancy and held them together with a jewelled clip from the kit. Then I made a pair of flip flops from 2 background papers and attached them with the gold safety pin. You can see a preview of the kit HERE and, if you like, you can also pick up a little gift or two.

Saturday, January 1, 2011

A New Year. A New Look.

I´ve only been in this room since November but I feel quite at home in it already. I´ve enjoyed keeping the Victorian doll company on the couch, drinking tea from the china cup, making calls on the antique phone and welcoming visitors. But I felt it was time for a change and a new look. Few women can resist moving their living room furniture around now and then...well, as long as someone else does the actual lifting and moving! With a virtual room it´s easy not only to move it but to replace it entirely along with its deco. It´s also a lot more fun to design a new room than to sweep and dust the old one...so here´s my brand new room furnished and decorated using Part 2 of my Shabby Chic Rooms Collection. I hope you like it. If you do, you might like to have a room of your own to display your treasured photos. You´ll find one HERE. Have fun with it!
Happy New - scrapping - Year, everyone!

Thursday, December 30, 2010

Dora´s Snow Angel

I sent Lajuana a photo recently to show her how much snow we have here in Germany while she´s basking in the Texan sunshine and she sent back this lovely LO which she created using my freebie snowflakes and Noel Nouveau. I think the doggy paw prints are a nice touch and Dora would too if she wasn´t too busy trying to wrench that stick out of my hands to notice anything! Thank you, Lajuana. At least it was sunny enough for me to need my sunglasses that day even though it was so cold I had to be muffled up to my chin and down to my eyebrows.
By the way, if you missed the Christmas presents, you´ll find them HERE

Saturday, December 4, 2010

Cross stitch cards


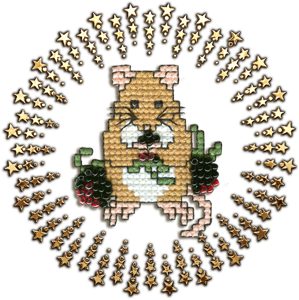
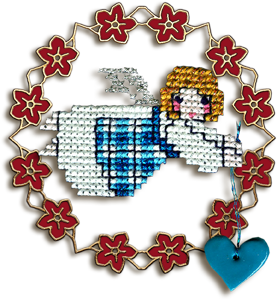
Embroidery and cross stitch have always been among my favourite hobbies and I enjoy creating not only large pictures but also small greeting cards for special occasions. Here are just a few of them.

I made this mouse for a friend whose birthday is in early September. I couldn´t resist making it look 3D by using various glass beads for the blackberries.

The angel is my favourite Christmas motif. I´ve used it not only for cards but also for Christmas tree decorations. Sometimes I stitch the heart onto plastic and sometimes, as here, I make it out of Fimo.

Of these three the bear is the only one I´ve kept so far. I must say he was easier to stitch than extract!
The frames are from my nostalgic Christmas kit, Noel Nouveau, which you´ll find HERE along with an early Christmas present.

Sunday, November 28, 2010

Fooling The Birds

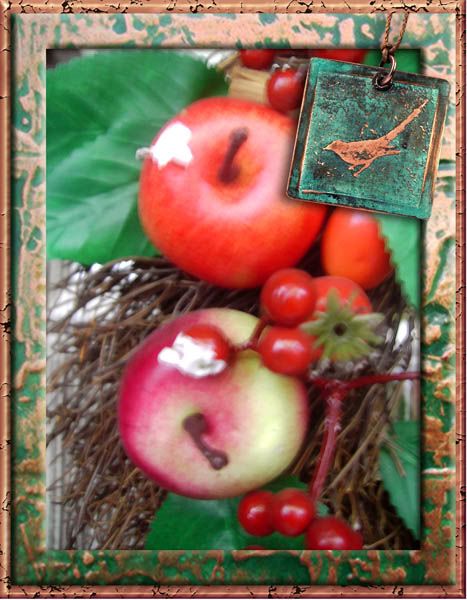
With the first snow and winter fast approaching, I thought it time to replace the autumn garland of apples and berries on my front door. It´s made of lacquered polystyrene and looks remarkably real, so real in fact that it seems to have fooled even the birds! Not only did they peck large holes in the "apples" but they even tweaked out some of the berry twigs and scattered them on the steps. At least the wooden snow angel which replaced my nibbled garland should survive to greet another winter!


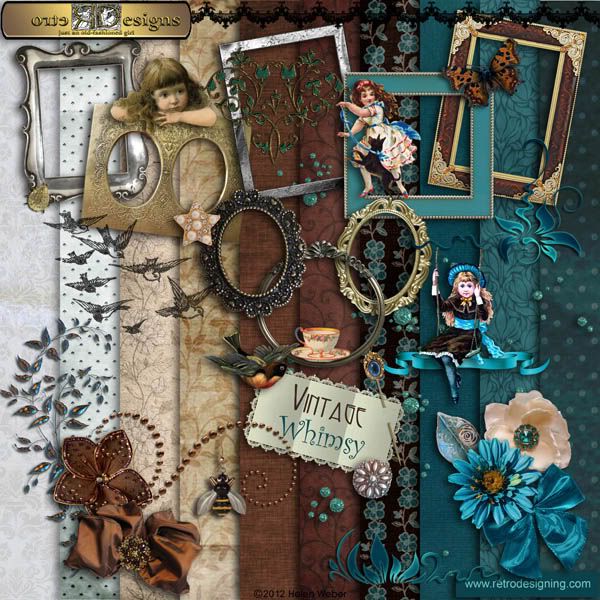
The bird pendant and frames are from my kit, Vintage Patina, which you can see HERE, and also pick up a freebie or two.


My table centrepiece, on the other hand, IS real AND edible though I don´t think the birds would enjoy those hot chilli peppers!

Saturday, November 20, 2010

After Deco-Pages

After Deco-Pages closed its doors I had nowhere to call my scrapping home until Lajuana aka scrapladyandmore offered to design a room for me to display my work until all the former DP members get back together again under one roof. Here it is at last and all thanks to Lajuana – with a little hindrance and interference from yours truly. As you can see, she also helped me to move some of my furniture and knick-knacks. At present they´re all from part 1 of my Shabby Chic Rooms Collection but the great advantage in having a virtual room is that it can be changed at whim. Since the entire collection consists of 196 items, the permutations are endless...Here´s part 1. Hope you´ll like it enough to call back again sometime to see the other 2 parts of the kit and maybe pick up a freebie or two.